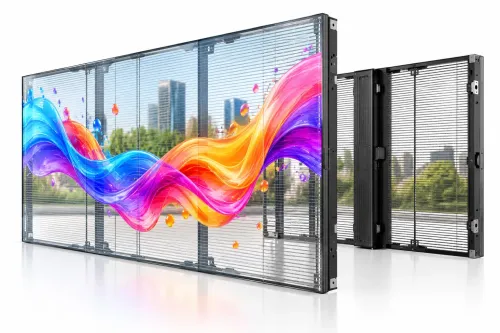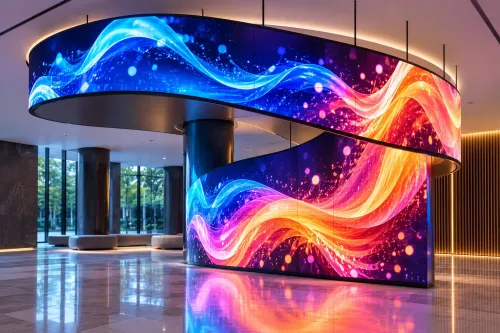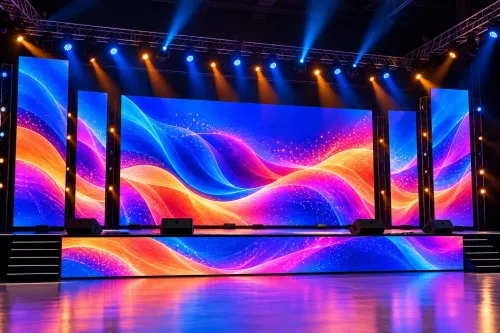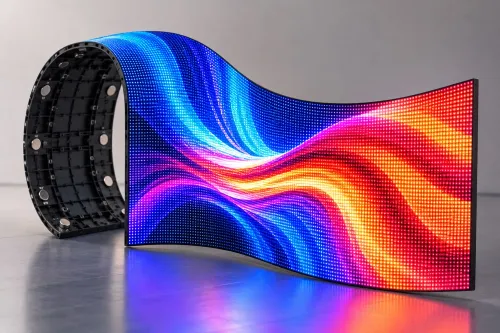

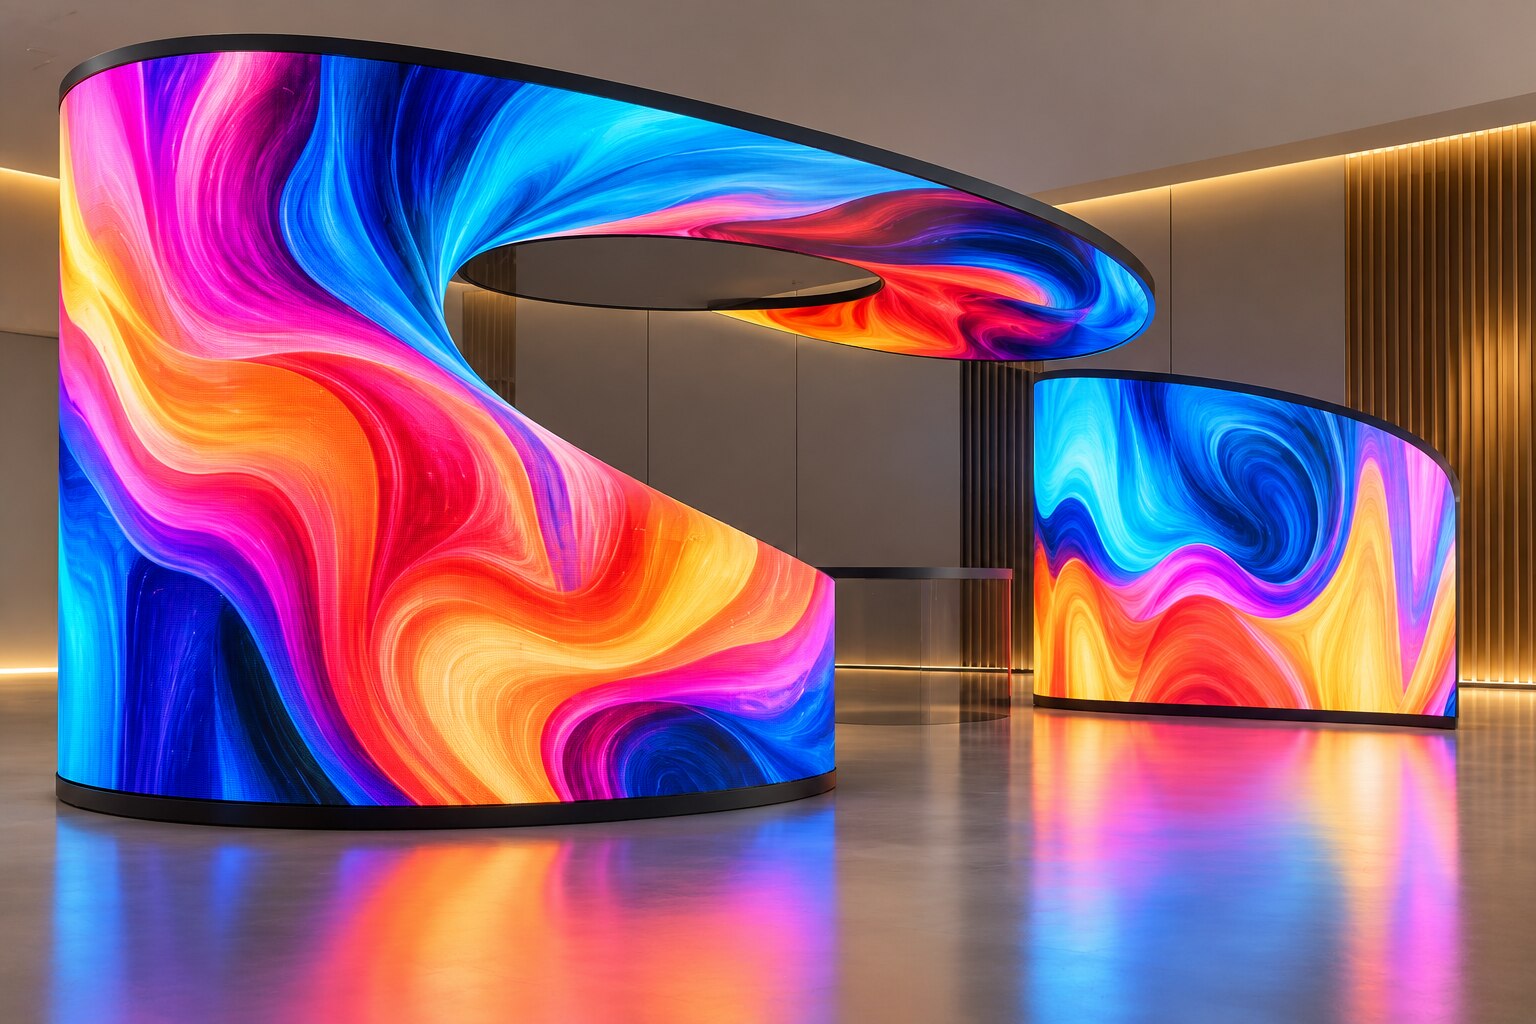
A creative LED display succeeds only when its shape, pixel layout, structure, power system and content are designed as one installation. By the end, you will know how to survey a Pune site, compare display specifications, plan approvals and services, and check the finished system before handover.
Key takeaways
- Survey access, mounting surfaces, power, network routes and viewing distances before fabrication.
- Use segmented modules and a steel subframe to build curves, logos and irregular shapes.
- Match pixel pitch and brightness to viewing distance, ambient light and content detail.
- Test calibration, playback, connectivity and safety before signing the handover.
How the site survey turns an idea into an installation plan
Fabrication starts only after the site survey proves that the concept fits the building, the viewing conditions and the approval limits. For a creative LED display for installation in Pune, the survey team records dimensions, access routes, mounting surfaces, power availability, network paths and the closest and typical viewing distances.
1. Measure the proposed surface, including width, height, curvature, radius, circumference, mounting depth and service clearance. Photograph beams, cladding joints, drainage points, obstructions and lifting routes; a drawing based only on architectural dimensions can place cabinets over an inaccessible maintenance area.
2. Check the structure and load path. The design must show how loads move from LED modules through cabinets, rails, brackets and anchors into the building structure, not merely into façade cladding. A structural engineer checks wind actions under IS 875 (Part 3) and verifies the substrate and anchor design.
3. Record the conditions that shape the specification: sunlight direction, shadow periods, dust, monsoon water paths, heat buildup, ventilation space and available electrical capacity. IP65 on the face does not waterproof rear connectors, cabinet joints or wall penetrations, so the plan includes drainage, drip loops and sealed entries.
4. Confirm permissions before fixing the size. Building-owner approval, signage or outdoor-advertising permission, electrical inspection, fire-safety coordination and structural sign-off can change the display’s location, brightness, operating hours or support method.
5. Build a viewing-distance mock-up, then select pixel pitch from actual sightlines rather than a universal formula. The survey also documents controller locations, cable routes, receiving-card addresses, protected power and data paths, remote monitoring and a local fallback playlist.
That survey becomes the fabrication brief for a creative LED display in Pune: measured geometry, approved dimensions, structural drawings, service zones, power loads and control outputs. Fabrication should wait until each item is signed off.
How curves, logos and irregular shapes become buildable LED structures
A wave becomes buildable after designers measure its radius, height, depth, viewing angle and available service space. They convert that survey into a scaled CAD surface, then divide the surface into LED module fields, cabinet boundaries, power zones and controller outputs. The drawing must show where every pixel row starts and ends.
For unique LED display designs, the shape determines the construction method:
- A ring uses repeated curved sections or narrow cabinets, with a defined inner radius, outer radius and pixel seam.
- A letter or logo uses rectangular modules inside a custom steel or aluminium outline, leaving non-display areas as a controlled mask rather than unusable gaps.
- A column uses vertical cabinet strips or flexible modules, with the circumference divided into pixel-aligned sections.
- A wave or façade feature uses stepped rigid cabinets, shaped frames or flexible modules only within their stated bend radius.
- An irregular polygon needs a cabinet map showing orientation, receiving-card coordinates, scan configuration and content-safe areas.
Rigid cabinets provide predictable alignment but require custom-cut frames at curves and corners. Flexible modules follow a surface more closely, yet forcing one beyond its minimum convex or concave bend radius can crack solder joints, damage connectors or distort pixels.
A custom LED display installation must transfer wind load from cabinets through rails, brackets and anchors into the building structure. Structural drawings should reference IS 875 (Part 3), identify anchor points and confirm that the fixing does not rely on façade cladding alone.
Include front or rear module access, removable panels, controller clearance, drainage and cable routes before fabrication. A visually perfect enclosure that requires façade dismantling for one failed module is not buildable in practice.
How to choose pixels, brightness and control hardware for the viewing distance
Pixel pitch must match the closest and typical viewing distances, not the screen’s nominal resolution. A smaller pitch improves close-up detail but increases LED count, processing load, cost and power demand; test a physical or rendered mock-up from the actual audience position before approving it.
| Site condition | Pixel-pitch decision | Brightness and control priority |
|---|---|---|
| Close indoor viewing | Choose the finest pitch that remains readable at the nearest point | About 800–1,500 nits, with scheduled dimming |
| Retail or event filming | Validate detail at camera distance and audience distance | Test PWM, scan method, shutter speeds and frame rates |
| Outdoor façade viewing | Select pitch from the normal street setback, not the façade size | About 4,500–7,000 nits, with a light sensor |
| Mixed-distance site | Balance near-view clarity against load and budget | Use automatic brightness control and temperature monitoring |
A high refresh-rate figure alone does not prevent rolling bars or banding. Ask the supplier to test the creative digital display for business with the cameras, shutter speeds, frame rates and resolutions used for events, retail content or broadcast; check PWM frequency, receiving-card timing, genlock and frame synchronisation.
Treat signal control as part of image quality and uptime. Require a documented controller-to-cabinet signal path, labelled receiving-card addresses, cable-length limits, protected power and data routes, surge protection, remote health monitoring and a local fallback playlist. An unmanaged switch or unlabelled cabinet chain can darken an entire section after one cable fault.
For a creative LED display in Pune, include rear ventilation, heat clearance and service access before sealing the enclosure against rain. Front- or rear-replaceable modules and power supplies prevent a single failure from becoming façade dismantling.
How Pune conditions change structural, electrical and network planning
Monsoon, heat and restricted access can turn a visually correct design into a structural, electrical or maintenance failure. Plan the custom LED display installation around the building, not only the image: wind load, water paths, heat removal, service clearance and power-and-data routes must be fixed before fabrication.
Account for these Pune site conditions:
- Wind: Check the load path from cabinets through rails, brackets and anchors into the building structure under IS 875 (Part 3). Façade cladding alone is not an adequate fixing base.
- Rain: Provide drainage, drip loops, sealed wall penetrations, corrosion-resistant fasteners and protected cabinet joints. An IP65 face does not waterproof the rear, connectors or power supplies.
- Heat and sunlight: Leave rear ventilation and heat clearance, monitor enclosure temperature, and derate power supplies. A sealed box can trap heat from modules, electronics, the façade and direct sun.
- Dust: Protect filters, fans, connectors and controller cabinets, then define a cleaning schedule before access becomes difficult.
- Restricted access: Confirm lifting routes, working platforms and replacement paths. Front-service modules help where the rear is blocked; otherwise, reserve removable panels and safe rear clearance.
A creative LED display for installation in Pune also needs separated power and data routes, labelled network terminations, accessible controllers and surge protection with verified earthing. Keep cable loops above drainage paths.
Before fabrication, obtain building-owner approval, structural sign-off, electrical inspection and any local signage or fire-safety permissions that apply. These decisions can limit size, brightness, operating hours and mounting position.
How testing, calibration and handover prove the display is ready
Accept the installation only after the image, structure, electrical system and control network pass recorded tests—not after the screen simply lights up. Use this handover checklist for unique LED display designs and a creative digital display for business:
1. Compare the installed shape with approved drawings. Record cabinet orientation, module gaps, seams, spare pixels, service clearances and any unusable triangular areas. Confirm that the pixel map matches receiving-card coordinates, scan configuration and processor outputs.
2. Run full-screen red, green, blue, white, black and grey patterns. Photograph dead pixels, colour shifts, brightness bands, stuck pixels and visible seams, then record their cabinet and module locations. Measure brightness and colour uniformity at the agreed viewing points.
3. Play the actual content canvas, not only a 16:9 test file. Check logo edges, small text, thin lines, diagonal motion, crop rules and unusual aspect ratios from every main viewing angle. Test the display on camera to identify flicker or rolling bands.
4. Log power readings, temperature sensors, fan operation, rear airflow, alarms and shutdown behaviour during a sustained run. Check labelled power and data routes, surge protection, controller addresses, cable limits, remote monitoring and the local fallback playlist.
5. Collect as-built drawings, pixel maps, controller settings, test photographs, maintenance instructions, warranty details and approval records. SBW TECHNOLOGY PVT LTD should include these files in the handover pack, alongside the fault-reporting contact and training record.
Related products
 | Creative Displays SBW Technology Private Limited offers innovative Creative LED Displays designed to transform conventional digital signage into visually striking and... View product → |
 | Flexible LED Display SBW Technology Private Limited offers Flexible LED Displays designed for creative and curved digital display installations. View product → |
Frequently asked questions
What does a site survey cover for a creative LED display installation in Pune?
It records display dimensions, viewing distances, access routes, mounting surfaces, power availability, network paths and approval limits.
How are curved logos and irregular LED shapes made buildable?
Designers divide the concept into LED modules, custom frames, mounting points, power zones and service-access sections before fabrication.
How do you choose pixel pitch and brightness for an LED display?
Choose pixel pitch from the closest viewing distance and content detail. Set brightness for ambient light without making the image uncomfortable to view.
What Pune conditions affect LED display planning?
Heat, monsoon rain, dust, wind loads, building access, earthing, electrical capacity and network routes affect structural and system planning.
What proves an LED display is ready for handover?
A readiness check covers module operation, dead pixels, colour and brightness calibration, playback, control connectivity, power behaviour and service access.